
If there are any stars among Spanish recipes, it’s tapas. They’re super easy to make and the perfect snack at any time of day.
Spanish pickled peppers are one of the most popular tapas in the region because they combine the tangy, sweet pickle flavor with the spice of the peppers, perfect for topping toast and crackers.
In this article, we’ll explore how to make this recipe, with expert tips for storing, serving, and adapting the ingredients to your tastes and what you have at home.

Pssst…!!?? You can’t get enough of Spanish recipes? Have a look at my other posts:
Background of the Dish

Pickled ingredient recipes became popular in Europe hundreds of centuries ago, as it was one of the few ways to preserve food for a long time.
Originally, Spanish pickled peppers, along with other Andalusian dishes such as the pickled mackerel recipe and vegetables, were staples in the diets of people in southern Spain, so they became entrenched.
Today, you can walk around Cordoba, Cadiz, or Seville and find bars serving pickled peppers as tapas to enjoy with a nice cold drink.
Pin for later!

Things You’ll Need for Spanish Pickled Peppers
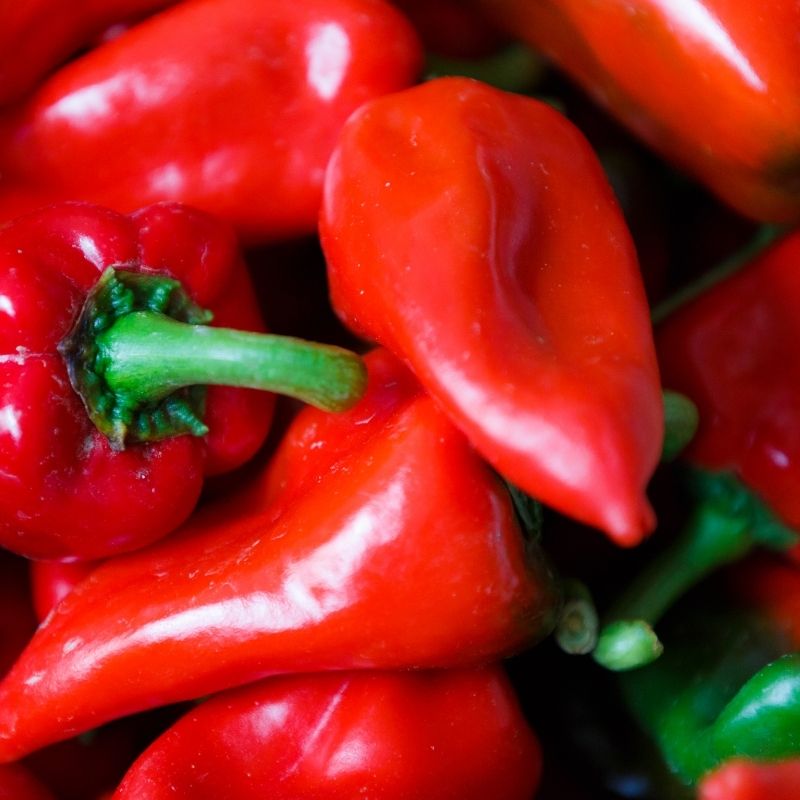
To make the Spanish pickled peppers you will need green, red, and yellow peppers, sugar, salt, rosemary sprigs, bay leaves, peppercorns, white vinegar, and water.
Ingredients
- 1 cup (240ml) white vinegar
- 1 cup (240ml) water
- 1 1/2 red bell peppers
- 1 green bell pepper
- 1 yellow bell pepper
- 2 garlic cloves
- 1 rosemary sprig
- 1 bay leaf
- 1 teaspoon black peppercorns
- 2 tablespoons sugar
- 1 tablespoon salt
How to Make Spanish Pickled Peppers – Step by Step Guide

- To start making pickled peppers, you have to wash your bell peppers with plenty of water and dry them with a paper towel (this will help you to handle them without being slippery). Cut them in half, remove the stem and seeds, and cut them into strips or chunks. Mince or crush the garlic cloves.
- After that, grab a large pot and add the vinegar, water, salt, sugar, bay leaf, rosemary, peppercorns, and garlic. This will help to activate the flavors of the spices and seasonings and bring them together in the brine.
- Then, place the pot over medium heat and bring it to a boil for two minutes. After that, let the brine for the Spanish peppers cool.
- As the brine cools, place the bell pepper pieces in a glass jar. When the brine has cooled to room temperature, add it to the jar with the peppers.
- Now, close the jar with the simple pickled peppers and all the seasonings, and refrigerate them to marinate with the brine for at least 24 hours before serving.
- To finish the pickled peppers recipe, do a taste test and adjust the seasonings or herbs if needed.
Substitution of Ingredients

If you want to enjoy delicious Spanish pickled peppers but don’t have all the ingredients at home or want to be innovative, there are some changes you can make.
For example, you can make it exclusively with Spanish red peppers or green pickled peppers, but using a mix of the different types helps you achieve a more colorful and extra-flavorful result.
Apart from that, you can make pickled peppers with your favorite herbs and spices, incorporating others like dill, basil, or extra bay leaves.
For spicy pickled peppers, you can add crushed red peppercorns or chili flakes. Adding powders or sauces is not recommended, as they alter the brine’s consistency.
You can mix this recipe with Spanish pickled red onions, Spanish pickled onions, and Spanish marinated olives by adding those ingredients to the recipe, creating a burst of flavor and texture.
Tips on Serving Spanish Pickled Peppers
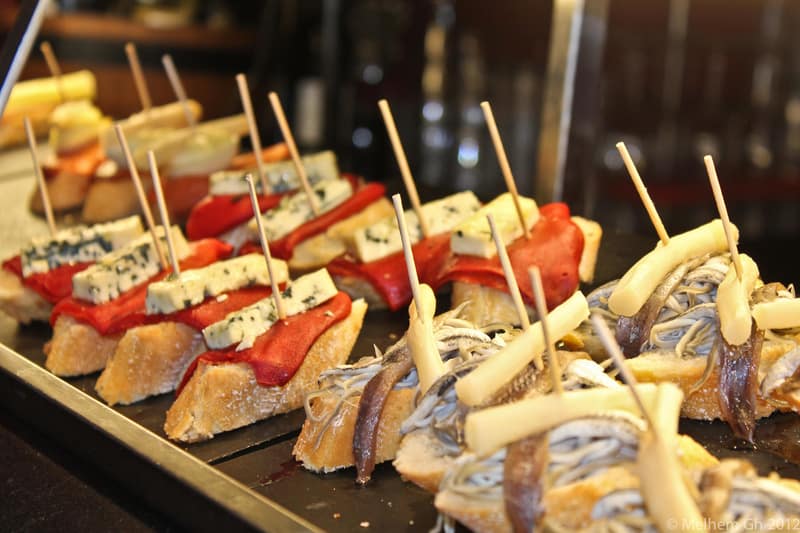
In Andalusia, Spanish pickled peppers are often served as tapas on toast, crackers, or with a nice pint of cold beer.
This Spanish pepper can also be used as a topping on other dishes: for example, it goes perfectly with a mixed green salad, to add tanginess to roasted suckling pig, and more.
Since they’re not boiled, these are crunchy pickled peppers, but you can add other levels of crunch by serving them with toasted almonds and cashew nuts, adding more texture without significantly changing the flavors.
If you have guests coming over, you can surprise them with a tapas party, serving the Spanish pickled peppers with tostadas and crackers ready to be enjoyed.
How to Store Spanish Pickled Peppers
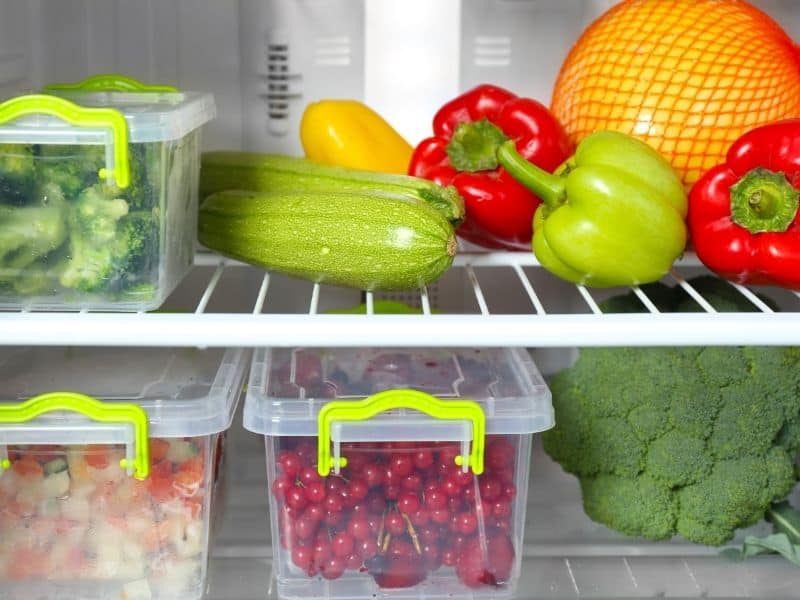
If you love meal prepping or like to have something ready to snack on in your fridge at any time, Spanish pickled peppers are perfect, as they can last up to two months.
A key factor in canning pickled peppers properly is to ensure the peppers are submerged in the brine at all times, as well as the herbs, to ensure optimal preservation.
If you notice that something about the flavor or texture is off, it’s best to discard them and make them again, as this indicates something went wrong during the storage process.
Fortunately, we have more recipes from southern Spain that you can make and store for months, such as marinated carrots and the classic Spanish pickles recipe, so feel free to give them a try.
Recipe Card: Spanish Pickled Peppers
Spanish Pickled Peppers Recipe

If there are any stars among Spanish recipes, it's tapas: they're super easy to make and the perfect snack at any time of day.
Spanish pickled peppers are one of the most popular tapas in the region because they combine the tangy, sweet pickle flavor with the spice of the peppers, perfect for topping toast and crackers.
In this article, we'll explore how to make this recipe, with expert tips for storing, serving, and adapting the ingredients to your tastes and what you have at home.
Ingredients
- 1 cup (240ml) white vinegar
- 1 cup (240ml) water
- 1 1/2 red bell peppers
- 1 green bell pepper
- 1 yellow bell pepper
- 2 garlic cloves
- 1 rosemary sprig
- 1 bay leaf
- 1 teaspoon black peppercorns
- 2 tablespoons sugar
- 1 tablespoon salt
Instructions
- Wash your bell peppers with plenty of water and dry them with a paper towel to make them easier to handle. Cut them in half, remove the stem and seeds, and cut them into strips or chunks, depending on your taste. Mince the garlic cloves.
- Grab a large pot and add the vinegar, water, salt, sugar, peppercorns, rosemary, bay leaf, and garlic.
- Heat over medium heat and bring to a boil for two minutes, then let it cool.
- Meanwhile, place the bell pepper pieces in a glass jar. When the brine has cooled to room temperature, add it to the jar with the peppers.
- Close the jar with the easy pickled peppers and all the seasonings, and refrigerate them to marinate with the brine for at least 24 hours before serving.
- Taste test the Spanish pickled peppers and add any additional seasonings if needed, letting them marinate longer. Then they'll be ready to eat.
Notes
Mixing the peppers with the brine while they're cool helps create crispy pickled peppers, but if you want them milder, you can boil them for the last minute with the brine.
Using different peppers helps you create a colorful variety of Spanish peppers, but you can choose to only have red, green, or yellow ones, depending on your taste.
Feel free to play with the flavors of Spanish pickled peppers by adding your favorite herbs and spices.
Nutrition Information
Yield
12Serving Size
1Amount Per Serving Calories 21Total Fat 0gSaturated Fat 0gTrans Fat 0gUnsaturated Fat 0gCholesterol 0mgSodium 530mgCarbohydrates 5gFiber 1gSugar 3gProtein 0g
All information presented and written are intended for informational purposes only. You should not rely on this information as a substitute for, nor does it replace, professional medical advice, diagnosis, or treatment. If you have any concerns or questions about your health, you should always consult with a physician or other health-care professional. The writers and publishers of visitsouthernspain.com are not nutritionists or registered dietitians. Statements within this site have not been evaluated or approved by the Food and Drug Administration.


Hola, I’m Paulina! Together with my team, we are passionate about Southern Spain. Here we share all you need to know for great times in Southern Spain with the best places to visit, stay and, of course, the best food to eat.
Let’s dive in and explore Southern Spain’s outdoors, food and culture con pasión!