


If you love flavorful food that isn’t afraid to play with ingredients, herbs, and spices, then Spanish recipes are for you.
This Spanish pickled garlic recipe is a fantastic example, combining classic Andalusian ingredients in a brine that allows for long-lasting preservation.
Continue exploring this article, and you’ll learn how to make Spanish pickled garlic, along with crucial tips for storing, serving, and customizing this recipe.

You, dear reader, support this blog. If you purchase through a link, we earn a small commission. As an Amazon Affiliate, we earn from qualifying purchases.
Pssst…!!?? You can’t get enough of Spanish recipes? Have a look at my other posts:
- Spanish pickled vegetables
Background of the Dish

The technique of pickling food dates back to more than 2000 years before Christ, as it was one of the few ways to preserve food for long periods without compromising its quality or flavor.
In southern Spain, key regional ingredients like garlic, onion, and mackerel began to be pickled so that sailors and merchants could take them as food on long journeys.
Over time, this practice spread to Andalusian households as a way to preserve food during times of scarcity.
Today, its popularity remains strong, now more for its delicious flavor and easy preparation than for necessity.
Pin for later!

Things You’ll Need for Spanish Pickled Garlic
To prepare the Spanish pickles recipe, you’ll need 3–4 heads of garlic, white vinegar, water, bay leaf, peppercorns, sugar, and salt as the main ingredients.
Ingredients
- 3 to 4 heads of garlic (depending on the size, you can check that they fit in the jar)
- 1 cup (240 ml) water
- 1 cup (240 ml) apple cider vinegar
- 1 tablespoon sugar
- 1 tablespoon salt
- 1 clove
- 1 teaspoon peppercorns
- 1 bay leaf
How to Make Spanish Pickled Garlic – Step by Step Guide

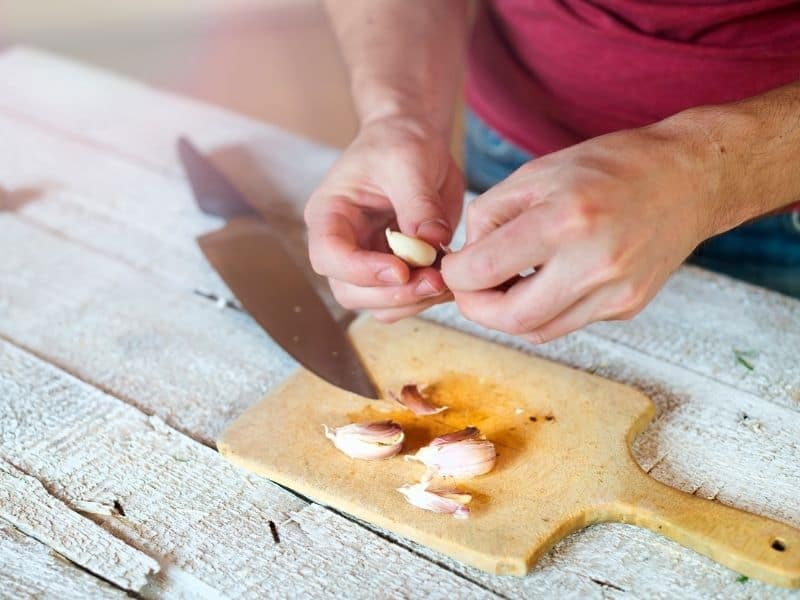
- To start making this Spanish pickled garlic recipe, you have to separate the garlic cloves from the heads and peel them.
- Now, fill a medium-sized pot with water and add a tablespoon of salt. Bring to a boil over medium-high heat. Add the peeled garlic cloves and blanch them for 3 to 4 minutes -this will improve their flavor without affecting the texture-. Remove them from the water.
- To get started with the simple pickled garlic brine, combine water, vinegar, bay leaves, peppercorns, salt, and sugar in a pot. Place over medium-high heat and, when it begins to boil, add the garlic for a minute. Turn off the heat and let it cool down to room temperature.
- After that, once your Spanish pickled garlic is cool, pour it into a glass jar with a lid and put it in the fridge.
- For the final step in this easy pickles recipe, simply let the garlic pickle sit in the fridge for 1 to 3 days, to allow the flavors to meld. If the garlic stays properly submerged in the brine, you can store it for up to 2 months in the fridge.
Substitution of Ingredients

Spanish pickled garlic stands out for its simplicity, but with just a few ingredient changes, you can easily adjust the flavor profile to your liking.
For a spicy pickled garlic recipe, you can add other ingredients to the brine, such as chili flakes, crushed red pepper, or mustard seeds (just use about ¾ teaspoon of each so they don’t overpower the other flavors).
If you want it extra sweet, you can turn it into honey pickled garlic. In that case, fill half the jar with blanched garlic and raw honey, and let it ferment.
The best pickled garlic can also be made with other types of vinegar, such as red wine vinegar or different kinds of white vinegar.
Tips on Serving Spanish Pickled Garlic
Spanish pickled garlic is loved in Andalusia because it’s super easy to serve — either as a stand-alone snack or as an ingredient that pairs well with other main dishes.
The simplest way is to just place the whole pickled garlic on a toast, cracker, or salted cracker and enjoy the flavor of the garlic, which is infinitely better than canned pickled garlic.
You can also use this organic pickled garlic as a topping for salads (just chop it into pieces), enhance the flavor of pasta sauces (both cream- and tomato-based), or to season a roasted vegetable dish.
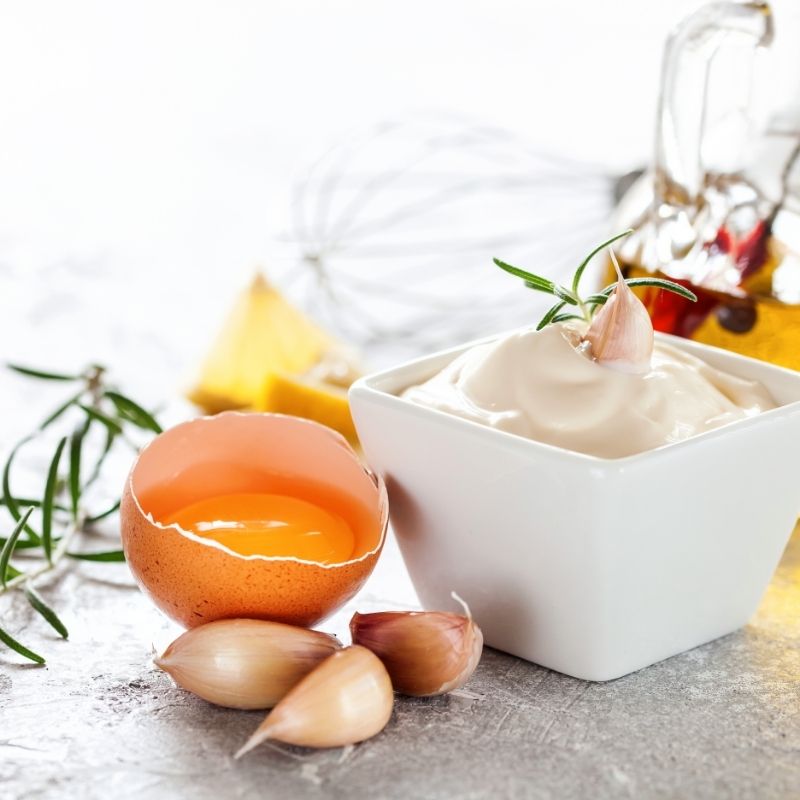
Marinated pickled garlic can also be used in burgers or hot dogs, and if you mix it with mayonnaise, it becomes a quick aioli with a slightly tangy and sweet flavor.
If you have guests or friends visiting, you can prepare some toasts and serve them with Spanish pickled carrots and Spanish pickled peppers as fantastic tapas with soft drinks or cold beer.
How to Store Spanish Pickled Garlic
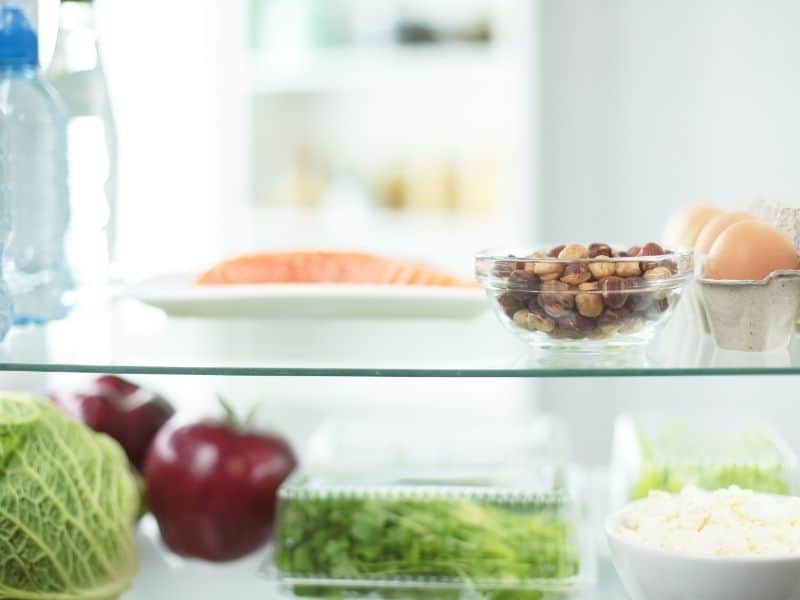
Once you finish making pickled garlic, you need to store it in the fridge, where it can last for 2 to 3 months, though there are some tips to help preserve it even better.
Make sure to always use clean forks, spoons, or knives to take the garlic out of the jar.
This helps keep the brine from getting contaminated by outside ingredients.
To ensure your Spanish pickled garlic stays fresh, the garlic should always be fully covered with brine, and the jar must be tightly sealed.
Other Spanish pickled recipes you can make and store for a long time include the pickled mackerel recipe and Spanish pickled red onions, with completely different but delicious flavor profiles that can enhance any dish or meal.
Recipe Card: Spanish Pickled Garlic
Spanish Pickled Garlic Recipe

If you love flavorful food that isn't afraid to play with ingredients, herbs, and spices, then Spanish recipes are for you.
This Spanish pickled garlic recipe is a fantastic example, combining classic Andalusian ingredients in a brine that allows for long-lasting preservation.
Continue exploring this article, and you'll learn how to make Spanish pickled garlic, along with crucial tips for storing, serving, and customizing this recipe.
Ingredients
- 3 to 4 heads of garlic (depending on the size, you can check that they fit in the jar)
- 1 cup (240 ml) water
- 1 cup (240 ml) apple cider vinegar
- 1 tablespoon sugar
- 1 tablespoon salt
- 1 clove
- 1 teaspoon peppercorns
- 1 bay leaf
Instructions
- Separate the garlic cloves from the heads and peel them.
- Fill a medium pot with water and add a tablespoon of salt. Bring to a boil. Add the peeled garlic cloves and let them blanch for 3 to 4 minutes. Remove them from the water.
- To prepare the pickle liquid, combine water, vinegar, bay leaves, peppercorns, salt, and sugar in a pot. Place over medium-high heat and, when it begins to boil, add the garlic for a minute. Turn off the heat and let it cool down to room temperature.
- When it reaches room temperature or cool, pour it into a glass jar with a lid. Take the Spanish pickled garlic to the fridge.
- Let it sit in the fridge for 1 to 3 days before consuming, so that the flavors meld. If the garlic stays properly submerged in the brine, you can store it for up to 2 months in the fridge.
Notes
To spice things up in this sweet pickled garlic recipe, you can add chili flakes, crushed red pepper, or mustard seeds.
Beyond that, this healthy pickles recipe is easy to customize with your favorite herbs and spices, such as rosemary, dill, basil, and more.
Nutrition Information
Yield
10Serving Size
1Amount Per Serving Calories 24Total Fat 0gSaturated Fat 0gTrans Fat 0gUnsaturated Fat 0gCholesterol 0mgSodium 637mgCarbohydrates 5gFiber 0gSugar 1gProtein 1g
All information presented and written are intended for informational purposes only. You should not rely on this information as a substitute for, nor does it replace, professional medical advice, diagnosis, or treatment. If you have any concerns or questions about your health, you should always consult with a physician or other health-care professional. The writers and publishers of visitsouthernspain.com are not nutritionists or registered dietitians. Statements within this site have not been evaluated or approved by the Food and Drug Administration.

Hola, I’m Paulina! Together with my team, we are passionate about Southern Spain. Here we share all you need to know for great times in Southern Spain with the best places to visit, stay and, of course, the best food to eat.
Let’s dive in and explore Southern Spain’s outdoors, food and culture con pasión!